To have worn the tang down on that Empire to that extent must have required an incredible amount of open/close cycles + grit +/- a poor heat treat, no? It's nearly round!
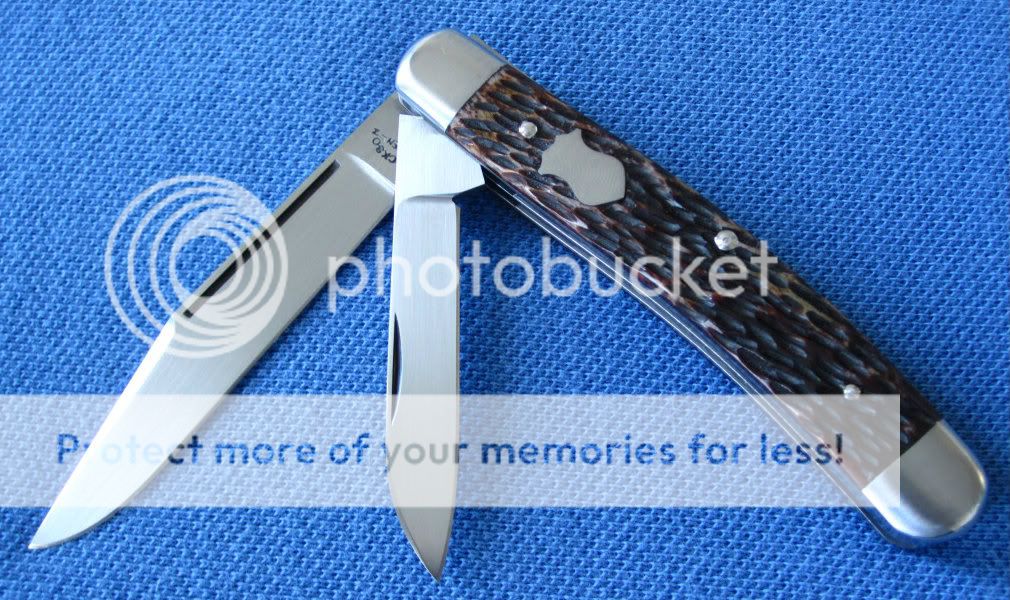
It's a real treat to see the knife and mechanism broken down- can anyone explain why the liner with the shield cutout has a pivot hole that is more like two different size holes that intersect?
I agree with all the above comments, this knife is going to be AMAZING, can't wait to follow along. Thanks for the great pictures!
-Greg


") ) into uncharted territory with this one, so final results are still to follow.
) into uncharted territory with this one, so final results are still to follow.


")