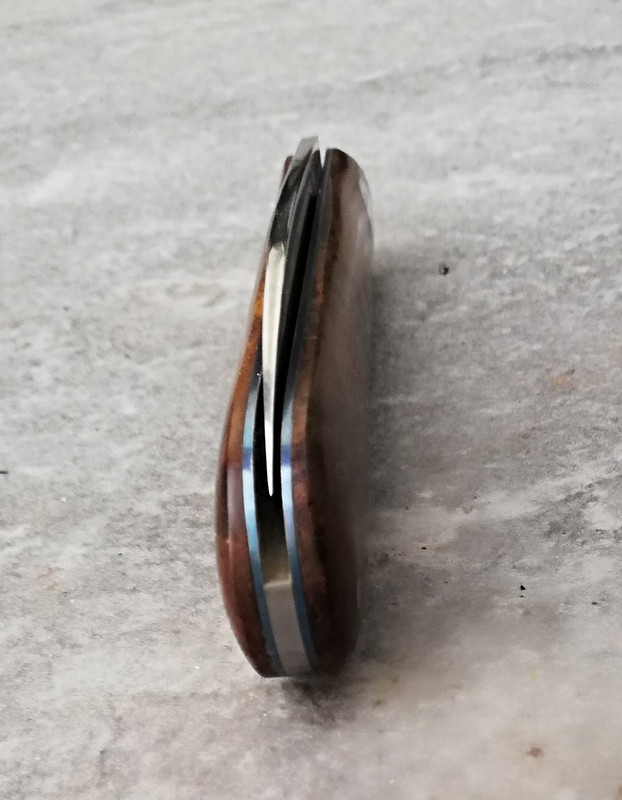
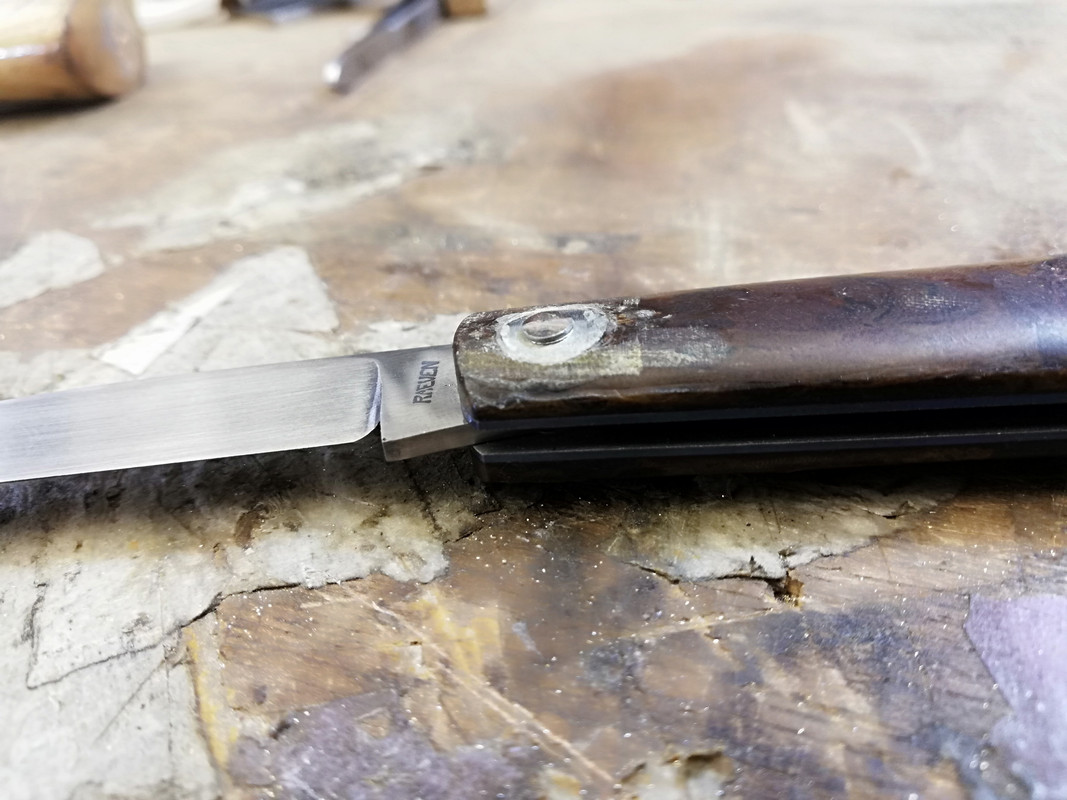
Use CA glue to fill that gap , when you finish nothing would be visible . Just be patient , do it several times and be careful not to trap air inside , use the tip of needle .

carbon will reflect light through CA and the gap will not be noticed at all
You can also fill those voids in carbon in same way .You will not be able to see them under microscope after you finish
")
Last edited:

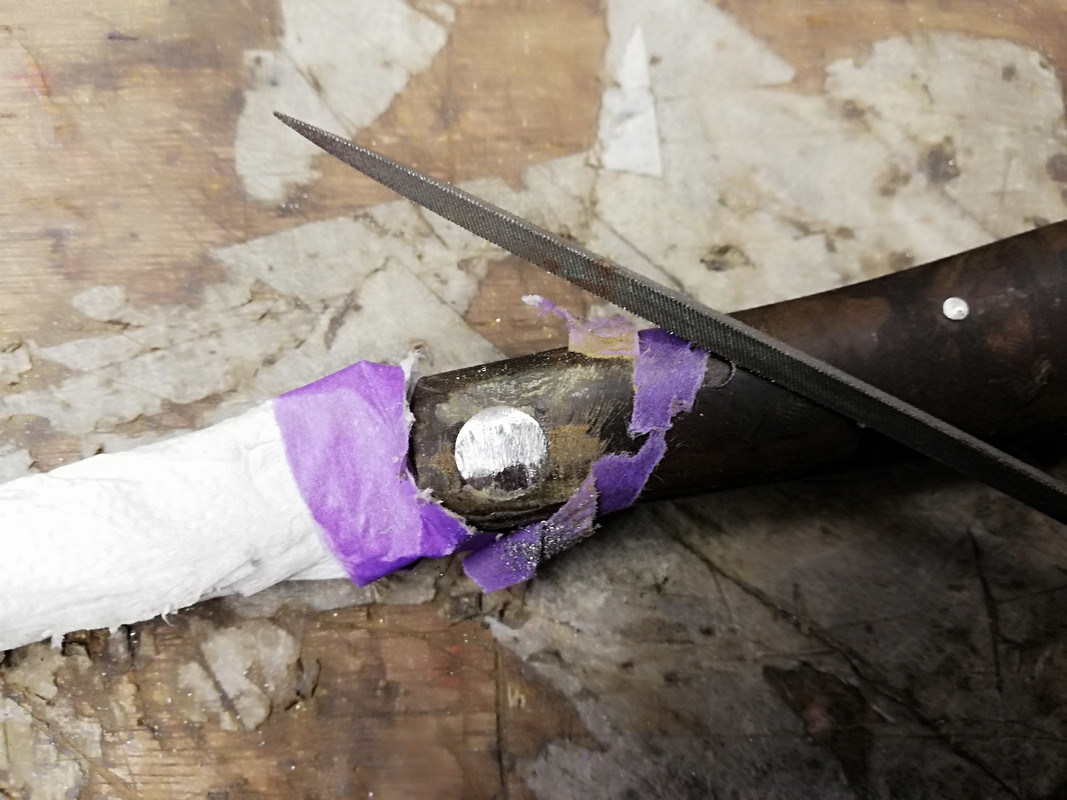


 Plan is to cut that two spare saw and when I need thicker saw just glue with CA other one , or two