- Joined
- Aug 30, 2001
- Messages
- 358
I'm envious of you guys with your spoon knives.. I've been slashing with my knife, then rounding with a rock.
The BladeForums.com 2024 Traditional Knife is available! Price is $250 ea (shipped within CONUS).
Order here: https://www.bladeforums.com/help/2024-traditional/


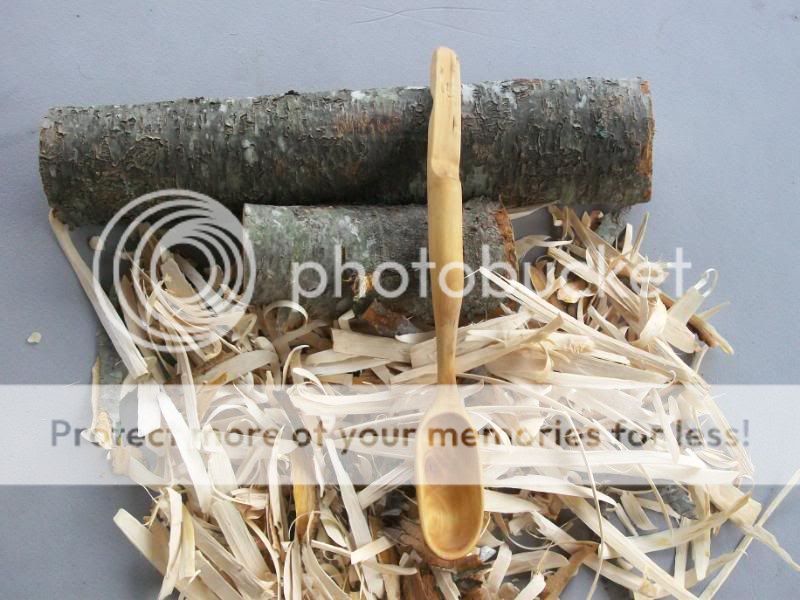
MY HAT! YOU HAVE MY HAT! GIVE THAT BACK!Ok. Took me some time with the photos but the spoon is here. I hope that I did all by the rules. It really was fun.
Working setup.
It really is Columbia! Did your hat swam or at least floated?? It must have been in the ocean for some time becouse I am on the other side ... and than there is Mediterranean and than Adriatic SeaMY HAT! YOU HAVE MY HAT! GIVE THAT BACK!


") Think I might try it again soon. :thumbup:
Think I might try it again soon. :thumbup:


Nautralist all I see is the big red x, anyone else see the pics?


Hemmm, i have no idea, its work on me.
I can see the pics..
Anyone have similar problem with Ridge-Runner? advice please

I don't see anything at all.
I don't see anything at all.
ditto