- Joined
- Jan 9, 2021
- Messages
- 418
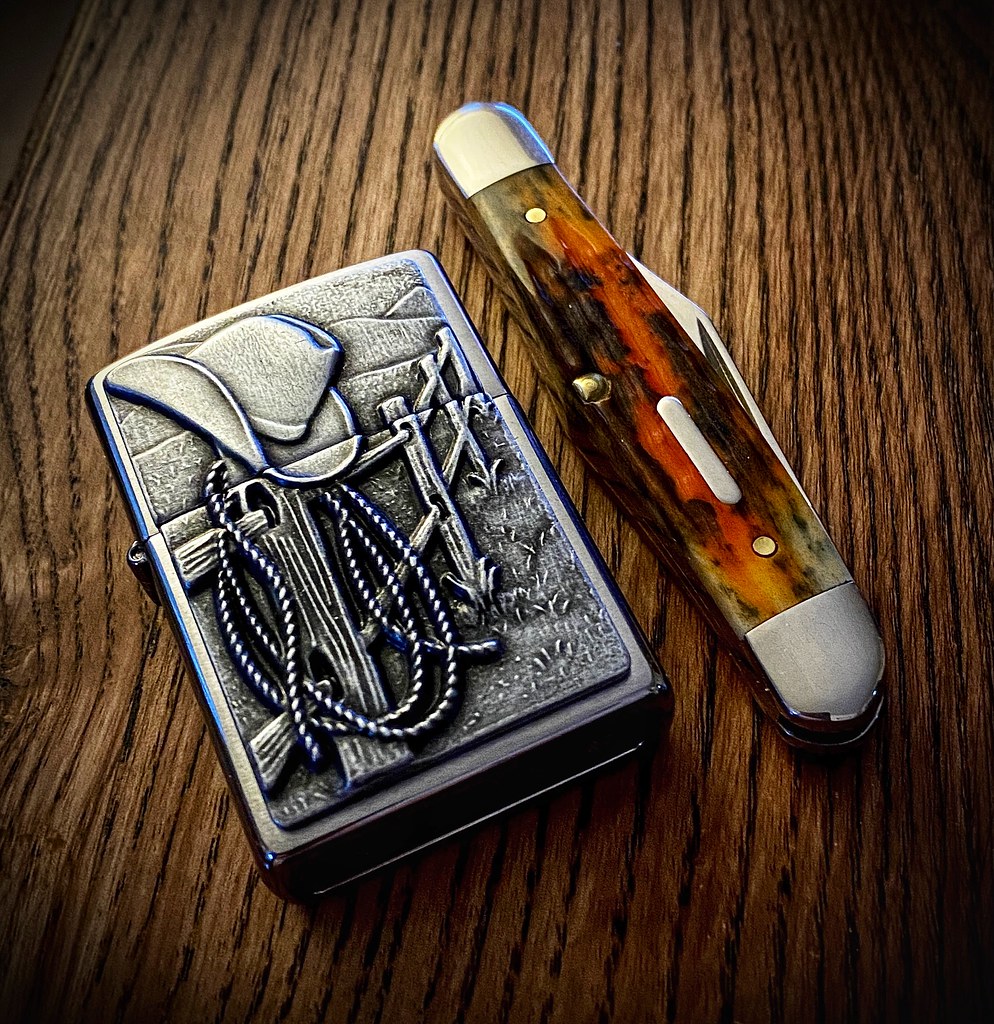
Fancy colors and a deer antler bead.

The BladeForums.com 2024 Traditional Knife is available! Price is $250 ea (shipped within CONUS).
Order here: https://www.bladeforums.com/help/2024-traditional/
")
 Untitled by GaryWGraley, on Flickr


Very clear.So, with the previous posts and a couple vids about Snake Knots, I thought I'd try to put something together about how I tie 'em. I watched a vid a few years ago to learn this, but can't seem to find it again. I've just shot some stills as I'm not set up to shoot videos, so I'll see if this'll format in an understandable way. One caveat here is that I used a piece of nylon750/11 strand cord and Snake Knots will come out a bit more lobed-looking than with nylon 550/7.
If you're following on a wide format (computer screen) the pictures will pair up side by side. On a phone they'll pair up vertically under the text which will string this out kinda long.
I tie these flat on a table, usually with the knife in a spring clamp for stability. Take the left-hand cord over the right, then back under both--think, over,under. Next, take the right-hand cord and go under the free end of the left-hand cord.
Next, take that right-hand cord pass it back over itself, over both center cords, and back down through the right-side loop. The second pic below is with knot cinched up and starting again with over, under. No need to turn over, open a loop, or anything.
First pic shows the second part of the second knot--under, over. Second pic shows the working end through the right hand loop.
Hope that's clear. I cinch up by pushing up hard on a lobe with my thumbnail and pulling down hard on the same side cord. As you cinch up, twist each completed knot into plane before starting the next. If the first knot is too loose, just do the same in the opposite direction after you've got a couple more done. If you need to cinch up a string of knots, just work your way from the top down pushing up the lobes with your thumbnail while pulling down from below. You can work that in the opposite direction as well.
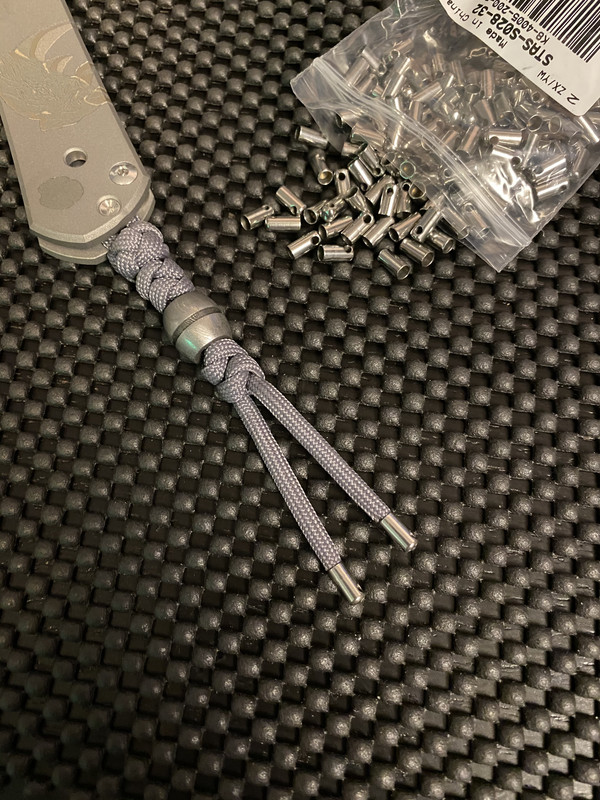
Here's a completed string of Snakes that could still use a little cinching toward the bottom.

 I much prefer photo instructions like this, rather than videos.
I'm the same way. Can't follow along with the videos very well.Very clear.
Very clear.
Well, thanks, R8shell, and I'm with both of you re video instruction. There's someone whose vids I've learned several knots from and, while he does a good job with his format and instruction, I find myself having put aside the cord, try to rewind to a certain spot, and go back over and over to try to pick up something I wasn't getting right. A still shot's not gonna move on ya when you need to see just where an end goes next.I'm the same way. Can't follow along with the videos very well.
Pretty kool setup
G2
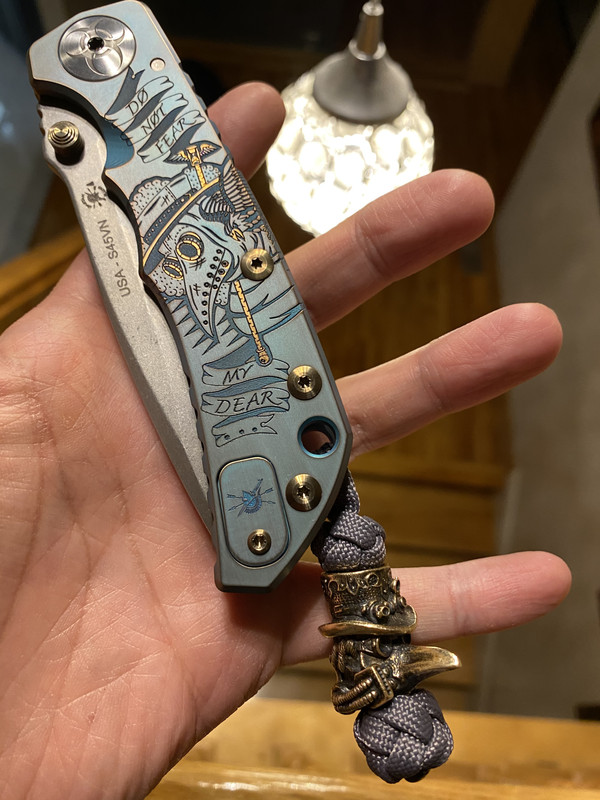
 Wanted to do a double diamond knot but was lost midway and my cord was kinda running short. I abort the mission and went with a wide diamond knot instead.
I’m so envious of this setup. Nicely done!!!Plague doctor bead with diamond and wide diamond knot.