- Joined
- Aug 21, 2013
- Messages
- 3,898
oh wow, yes, you are right. they do seem to be the same or at least very similar. Your's looks great. Gives me a goal to shoot for on this one.
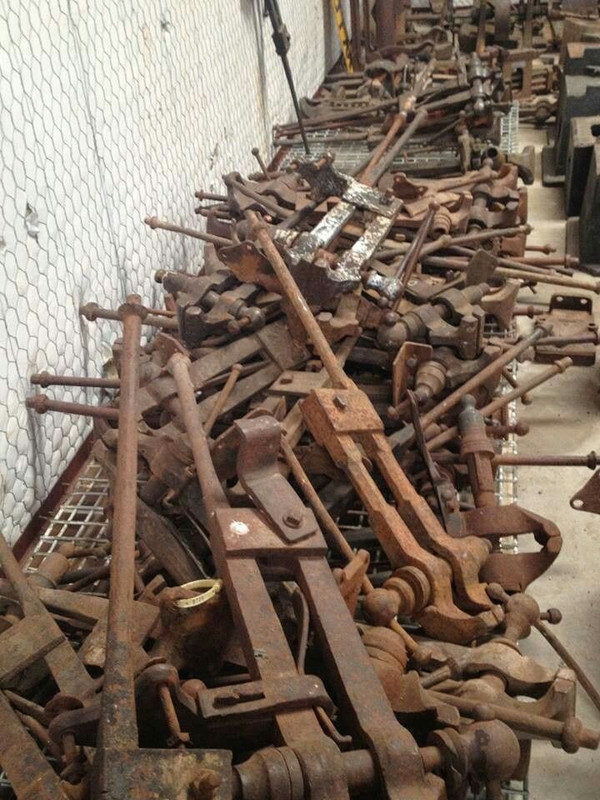
on mine, the previous owner welded the bracket and u bolt directly to the body of the vise, and then wrapped a little wire around the spring to hold it in place. Should I grind off the welds and get a new u bolt and put the bracket back the way yours is?
I don’t know to be honest. The plate is upside-down, welded to the shank as well as to the U-bolt, which in turn is welded to the shank?
The U-bolt looks like it’s in the way of setting to the top of a table or bench - was it under mounted? Could you cut them back to where they are welded to the back of the plate - to give yourself some clearance?
Are there still U-bolt holes on the back of the plate? Having the plate upside down might mean modifying the surface you mount it on but the bracket isn’t adjustable, being welded. You can adjust for height at the floor/foot?
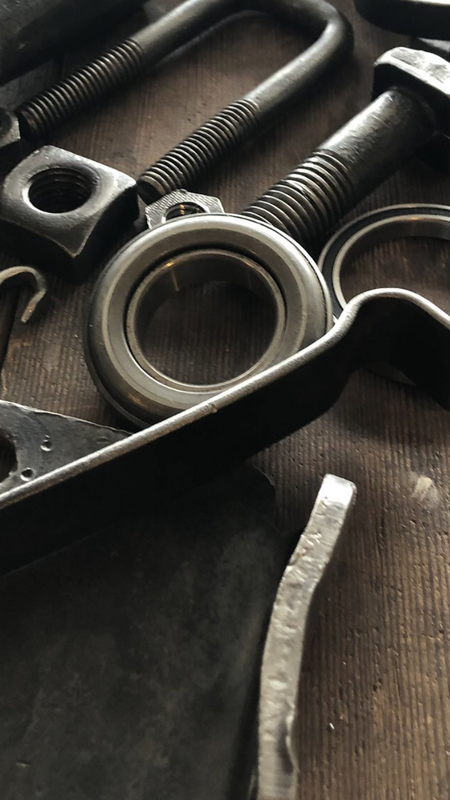
If the welded U-bolt isn’t essential to integrity, could you remove it and replace the wire job? What is the deal on the moveable side - holding the tension bar in place?
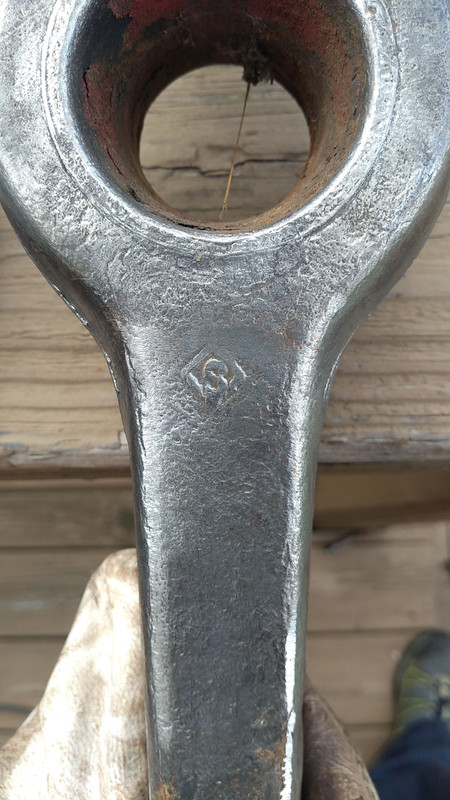
The Columbian post vises I’ve seen photos of have markings on the back of the fixed* jaw.
More questions than answers.
Last edited: