- Joined
- Jan 2, 2006
- Messages
- 482
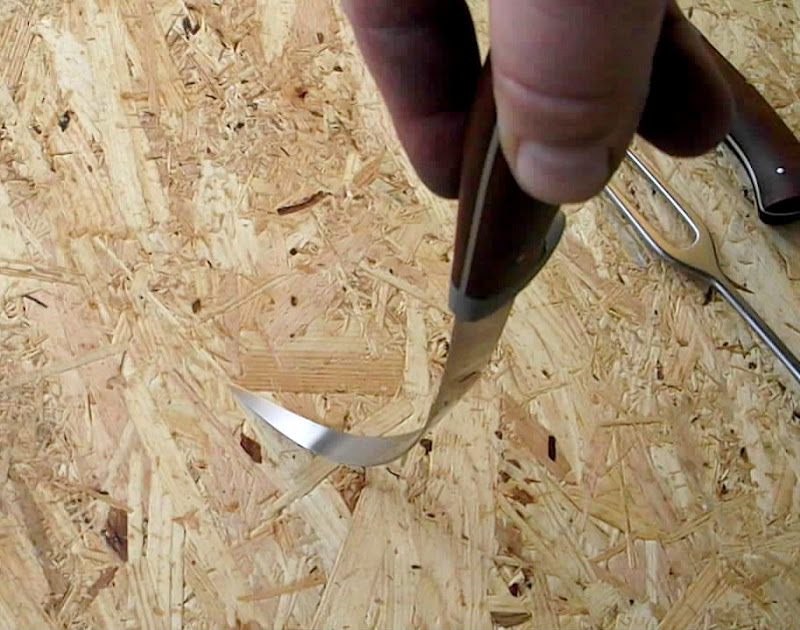
I am starting work on my first solid gold frame folder. This will be a learning experience.
Any hints from those who may have done this are welcome! I am doing a "work in progress" of this and a regular folder on Instagram https://www.instagram.com/wolfgangloerchner/ , so taking photos is prolonging the process. I will check in here as well as work progresses.
Wolfgang


Any hints from those who may have done this are welcome! I am doing a "work in progress" of this and a regular folder on Instagram https://www.instagram.com/wolfgangloerchner/ , so taking photos is prolonging the process. I will check in here as well as work progresses.
Wolfgang


") I hope they work.
I hope they work.


