-
The BladeForums.com 2024 Traditional Knife is available! Price is $250 ea (shipped within CONUS).
Order here: https://www.bladeforums.com/help/2024-traditional/
You are using an out of date browser. It may not display this or other websites correctly.
You should upgrade or use an alternative browser.
You should upgrade or use an alternative browser.
What's going on in your shop? Show us whats going on, and talk a bit about your work!
- Thread starter WillSwift
- Start date
- Joined
- Apr 12, 2006
- Messages
- 2,506
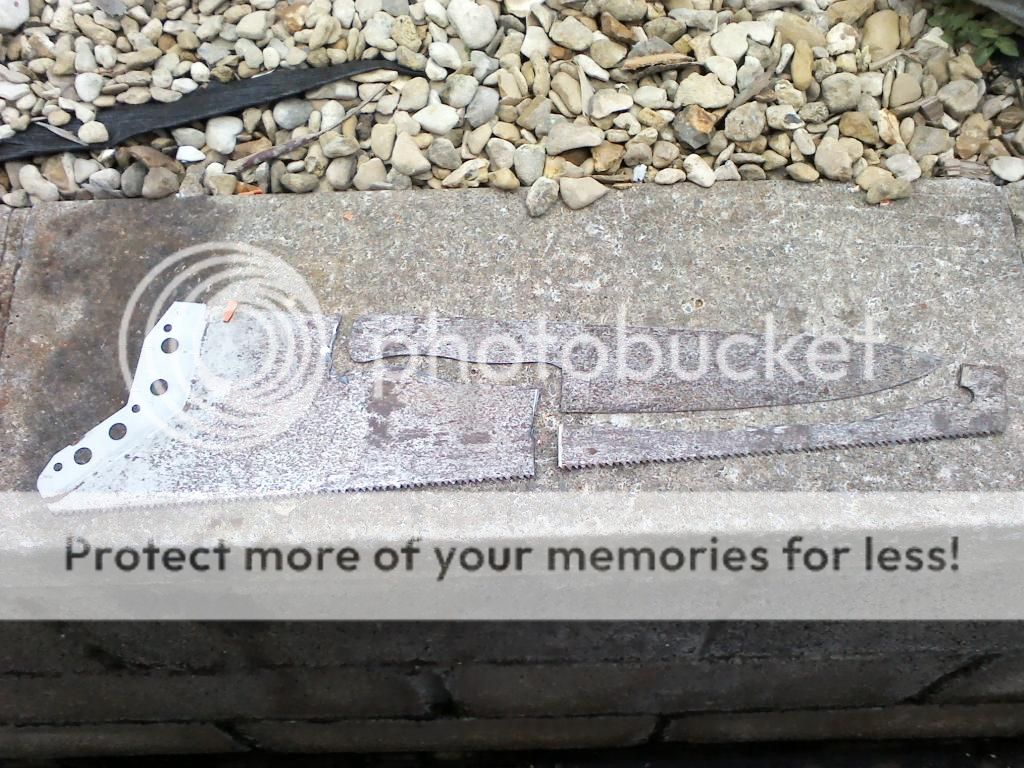
Dang, you must've got taken on yours brother! Looks just like the one I bought from HF for ~60 bucks after sale price and a 25% off coupon.
Ah, but does yours come with oversized cutting table and vise holding bracket?
I officially have two days to finish all of these, then school starts.


Right at this moment they have all been glued. 2 days to do the handles and sheaths
Post up the photos when they are done. I have some great handle color combos in that batch.
What is the intended use for the blades with the upcurved leprechaun tip?
- Joined
- Mar 12, 2013
- Messages
- 1,167
Finally got round to completing a plan yesterday that I should have had done months ago!
My workshop is divided into 2 areas by a wall made from thick vapour barrier plastic. There is a doorway left open between the 2 areas. The front area is the 'dirty' room and the back area is the 'clean' room. The clean room houses my machinery (lathe and mill) as well as stuff like my computer, camera etc... The plan right from the start had been to add a fan system with high grade filters blowing filtered air from the dirty room to the clean room, so that a slight positive pressure was maintained in the clean room and dust couldn't get in there. Finally finished up that part of the plan yesterday:


It was pretty cheap to do once I finally got round to it. It's basically a pair of box fans, couple with high-end furnace filters of the same size.
Seems to be working well so far! I have verified that there's a constant flow of air back through the door using high-tech methods such as soap bubbles and handfuls of dust
Hopefully this will go a long way toward keeping grinder dust away from all the more sensitive machinery, and my lungs!
I also finally gave in and bought and A/C unit for the shop. My shop is a unit in an industrial complex, and is surrounded by 3 sides. I have no windows and no exterior doors. For some reason the temperature in the shop is always about ~2ºC higher than outside, and the humidity is way higher as well. It was making me hate coming to the shop, so I finally coughed up for an A/C unit. Seems to be making life much more pleasant so far!
My workshop is divided into 2 areas by a wall made from thick vapour barrier plastic. There is a doorway left open between the 2 areas. The front area is the 'dirty' room and the back area is the 'clean' room. The clean room houses my machinery (lathe and mill) as well as stuff like my computer, camera etc... The plan right from the start had been to add a fan system with high grade filters blowing filtered air from the dirty room to the clean room, so that a slight positive pressure was maintained in the clean room and dust couldn't get in there. Finally finished up that part of the plan yesterday:


It was pretty cheap to do once I finally got round to it. It's basically a pair of box fans, couple with high-end furnace filters of the same size.
Seems to be working well so far! I have verified that there's a constant flow of air back through the door using high-tech methods such as soap bubbles and handfuls of dust
Hopefully this will go a long way toward keeping grinder dust away from all the more sensitive machinery, and my lungs!
I also finally gave in and bought and A/C unit for the shop. My shop is a unit in an industrial complex, and is surrounded by 3 sides. I have no windows and no exterior doors. For some reason the temperature in the shop is always about ~2ºC higher than outside, and the humidity is way higher as well. It was making me hate coming to the shop, so I finally coughed up for an A/C unit. Seems to be making life much more pleasant so far!
- Joined
- Apr 12, 2006
- Messages
- 2,506
- Joined
- Oct 4, 2011
- Messages
- 1,043
Post up the photos when they are done. I have some great handle color combos in that batch.
What is the intended use for the blades with the upcurved leprechaun tip?
Yep, I'll post pics!
Are you talking about the little nub on the tip? I leave that on there for ease of grinding and finishing, then take it off.
Yep, I'll post pics!
Are you talking about the little nub on the tip? I leave that on there for ease of grinding and finishing, then take it off.
Thought it might be but since they all didn't have it, I thought maybe it you sharpened it somehow.
- Joined
- Oct 4, 2011
- Messages
- 1,043
Sometimes for the big knives I leave the whole tip square. I probably shouldn't though, the little nub works perfectly.
Anywho, I just finished these approaching 2am on the day that school starts! Couldn't finish the saya in time, but I'll get to them this week.

Anywho, I just finished these approaching 2am on the day that school starts! Couldn't finish the saya in time, but I'll get to them this week.

- Joined
- Apr 12, 2006
- Messages
- 2,506
- Joined
- Dec 21, 2006
- Messages
- 3,158
I have ten going all at once. The two petty knives, one Santoku, and the stick tang paring knife are in AEB-L. The others are all CPM-M4. They'll be heat treated professionally by Peter's. I'm excited to offer these for sale on this forum once completed......except for the "Resolute" model...as that is Aaron's design used by permission.

- Joined
- Mar 12, 2013
- Messages
- 1,167
I have ten going all at once. The two petty knives, one Santoku, and the stick tang paring knife are in AEB-L. The others are all CPM-M4. They'll be heat treated professionally by Peter's. I'm excited to offer these for sale on this forum once completed......except for the "Resolute" model...as that is Aaron's design used by permission.View attachment 467928
Looking good! What do you think of the CPMM4 so far? I'm a little curious about that steel!
Nathan the Machinist
KnifeMaker / Machinist / Evil Genius
Moderator
Knifemaker / Craftsman / Service Provider
- Joined
- Feb 13, 2007
- Messages
- 18,258
A pretty serious plate of .8" Latrobe A2 cut into the biggest blanks I've ever started a knife with.


17 inch 10 pound knife blank because integral daggers. 9 1/2 pounds of material to remove ea, good lord. warranted a photograph...


17 inch 10 pound knife blank because integral daggers. 9 1/2 pounds of material to remove ea, good lord. warranted a photograph...
Last edited:
My 2nd sculpted/carved blade. This is also #2 in the elven, dwarven series I started a few moths ago. This one started on the frame of our RS Model 1. The guard lugs were forged to shape prior to grinding. I wanted a mix of forging, texture, and high finish in this one. The blade is hand rubbed to 1200 grit. All of the textured areas are blued. The handle material is curly walnut with a sterling silver wire inlay (my first shot at that). Lots of time invested in it but well worth it.
[URL=http://s1167.photobucket.com/user/CMForgeknives/media/elvish.jpg.html] [/URL][URL=http://s1167.photobucket.com/user/CMForgeknives/media/elvishspine.jpg.html]
 [/URL]
[URL=http://s1167.photobucket.com/user/CMForgeknives/media/elvish.jpg.html]
 [/URL][URL=http://s1167.photobucket.com/user/CMForgeknives/media/elvishspine.jpg.html]
 [/URL]
- Joined
- Dec 9, 2003
- Messages
- 4,817
That is the most beautiful sheath I have ever seen. Amazing idea inputting wood into the sheath.
- Joined
- Jan 10, 2011
- Messages
- 1,448
One quick tip.I have ten going all at once. The two petty knives, one Santoku, and the stick tang paring knife are in AEB-L. The others are all CPM-M4. They'll be heat treated professionally by Peter's. I'm excited to offer these for sale on this forum once completed......except for the "Resolute" model...as that is Aaron's design used by permission.View attachment 467928
If you drill you holes pre grind, it will be easier to drill your holes. less chance of wobble during drilling.
Looks good.
Nick
- Joined
- Dec 6, 2004
- Messages
- 6,212
integrals are fun (a sick kind of fun but fun none the less)A pretty serious plate of .8" Latrobe A2 cut into the biggest blanks I've ever started a knife with.


17 inch 10 pound knife blank because integral daggers. 9 1/2 pounds of material to remove ea, good lord. warranted a photograph...
- Joined
- Jan 27, 2008
- Messages
- 2,010
That is the most beautiful sheath I have ever seen. Amazing idea inputting wood into the sheath.
Thank you sir!
-Peter
- Joined
- Dec 21, 2006
- Messages
- 3,158
Aaron...I don't have any experience with the CPM M4 in a heat treated blade....yet! This is my first encounter with the stuff. So far, I can say that it was very easy to file and cut into as it arrived very soft from Niagra. Again...thank you for the permission to use the design of the Resolute. I have one in Cru Forge V that I just love to death...and want one more in CPM M4!!!
Hey Nick....thanks for the tip on drilling holes before the bevels are done. I don't know why I didn't this time around. I usually do exactly that....as it is easier to clamp on to the flats rather than a bevel!!!! I think I was super anxious to start the ole' Pferd chipbreaker up. It's a single stroke jobber and uses a gas/oil mix!
Hey Nick....thanks for the tip on drilling holes before the bevels are done. I don't know why I didn't this time around. I usually do exactly that....as it is easier to clamp on to the flats rather than a bevel!!!! I think I was super anxious to start the ole' Pferd chipbreaker up. It's a single stroke jobber and uses a gas/oil mix!


