Stacy E. Apelt - Bladesmith
ilmarinen - MODERATOR
Moderator
Knifemaker / Craftsman / Service Provider
- Joined
- Aug 20, 2004
- Messages
- 38,594
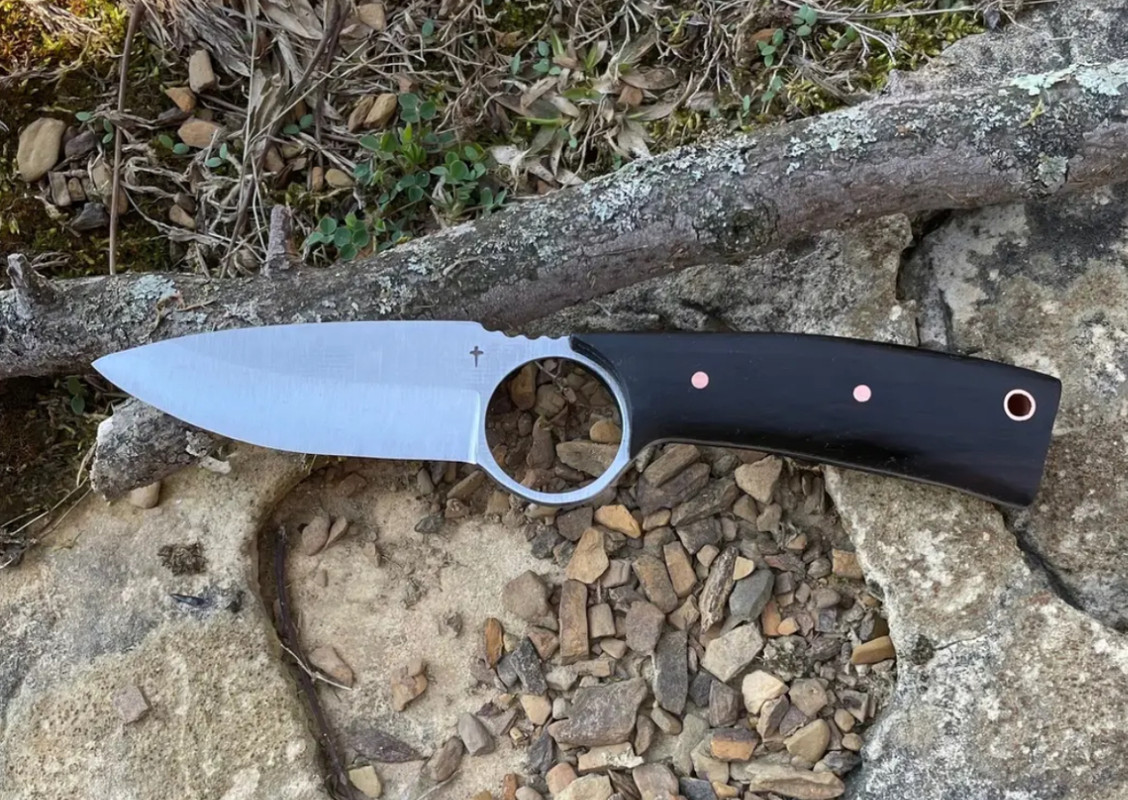
I'm not normally a fan of multi-piece contrasting handle scales ... but that one looks great.
The BladeForums.com 2024 Traditional Knife is available! Price is $250 ea (shipped within CONUS).
Order here: https://www.bladeforums.com/help/2024-traditional/


")
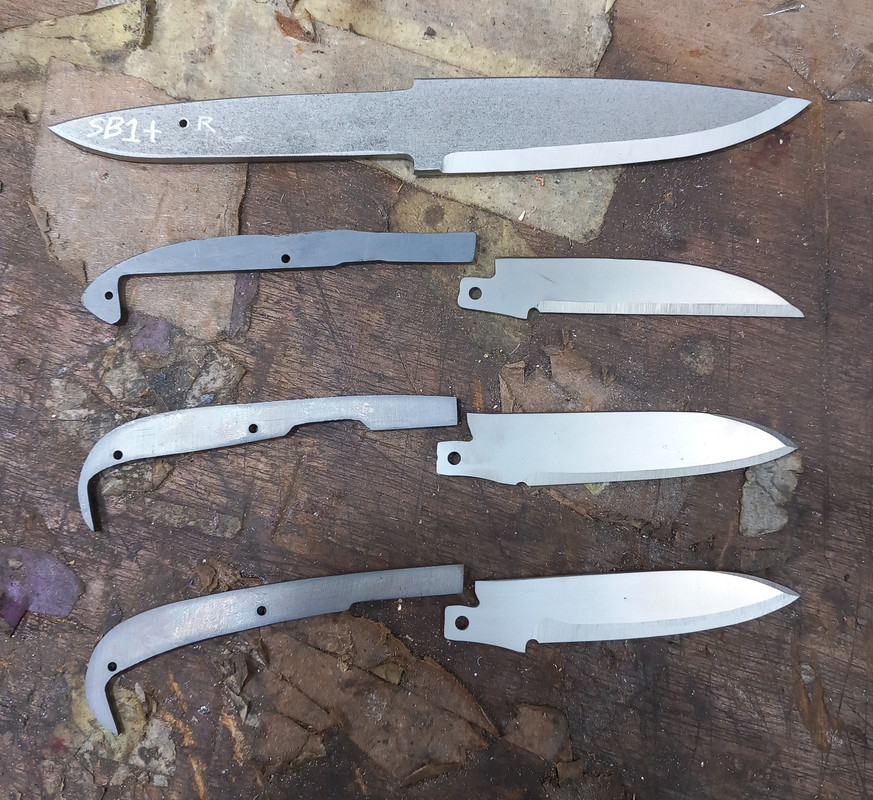


The white paint pens that welding shops sell work awsome for marking steel and the markings survive heat treat.Learned a good lesson yesterday! I did some Magnacut and AEB-L heat treating a few weeks ago in my new oven. Well, I thought it was AEB-L! I was 66-68 out of the quench/cryo (1975 for 15 and plate quench, temper at 300), which is way harder than AEB-L should be able to get. I noticed some issues using the shop knife; brittle, chipped easily and snapped the tip off twice and saw some larger grain. I snapped some tang off the other blade I though was AEB-L and it had huge grain. I dunked it in Ferric Chloride and sure enough, it etched. I had done some of the blanks in AEB-L and others in a carbon steel back in 2013 and didn't use the carbon ones, so it pays to label your steel bars and blanks so you know what it is!
I also snapped a piece from a Magnacut blade and the grain looks awesome! I was worried my oven TC was way off and I was overheating the steel, but it was mixing up a carbon steel for AEB-L!
What I thought was AEB-L (is actually a carbon steel!) on the left, Magnacut on the right:
Quick acid dunk confirmed it
Label your bars of steel and blanks!!! Glad I kept this one for myself as a shop knife!


