Hengelo_77
Basic Member
- Joined
- Mar 2, 2006
- Messages
- 6,326
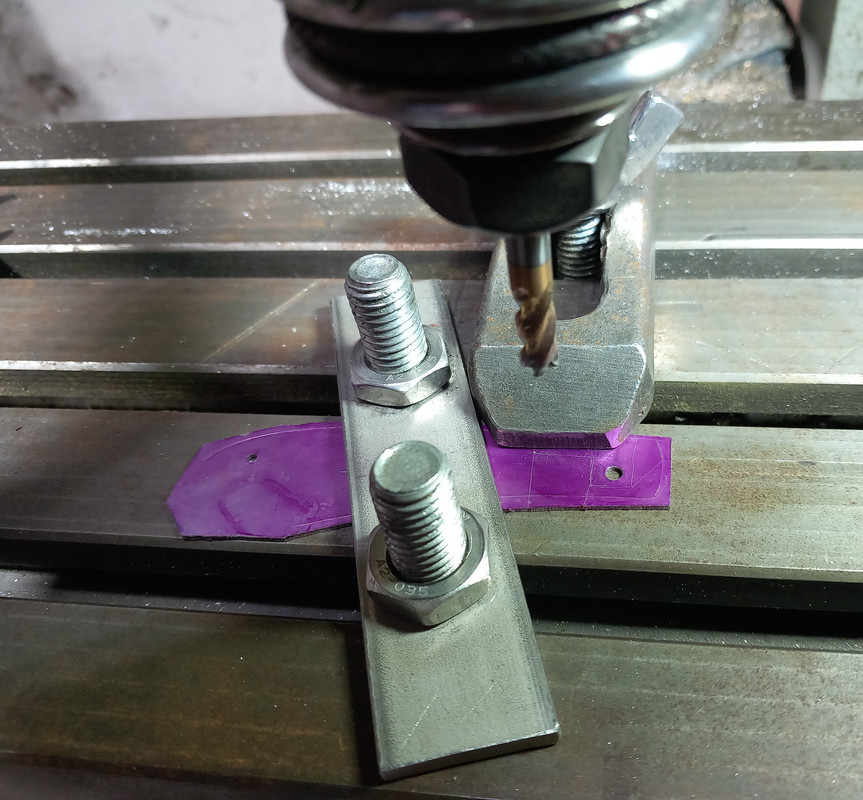
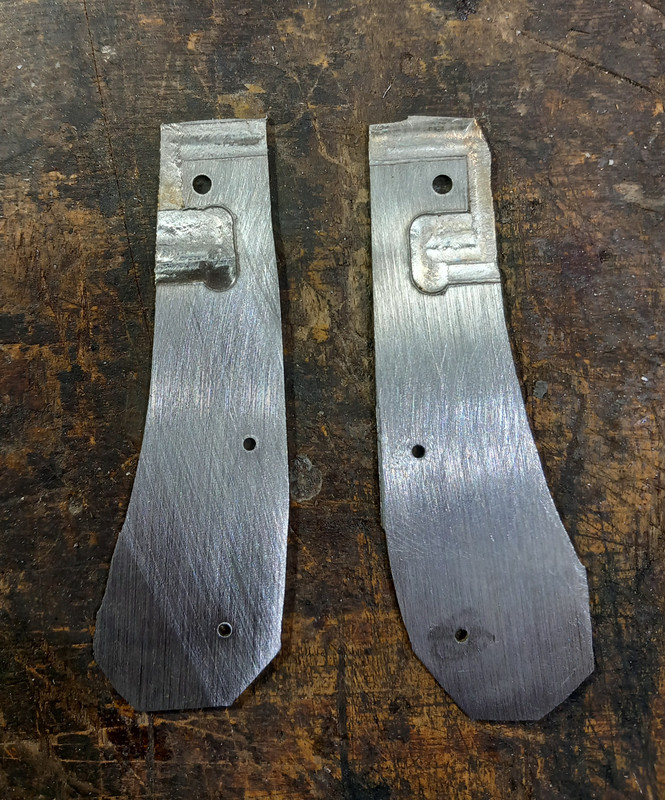
Relieving the liners with a pantograph is a bit different, but I'm happy with the result
The BladeForums.com 2024 Traditional Knife is available! Price is $250 ea (shipped within CONUS).
Order here: https://www.bladeforums.com/help/2024-traditional/
I believe the quote is:Math?!?!?!
No one said there would be math!
Congrats, it's a good feeling to know that you are hitting the numbers that you are aiming for.Just bought a Rockwell tester, a Grizzly T33986, after my brother visiting from Idaho tonight told me I should start selling knives part time. I'm not doing that without dialing in my heat treatment and having some way of tracking consistency.


I bought one of those Doyle clamps a few weeks ago. They work great.Made up a plate quench clamp device. 2' long 2 x 6 with 2 Doyle Carpenter clamps on it. I can use my 30" plates or the shorter plates easily and quickly. I mounted it in a bench vise and I used my post vise with angle iron to keep straight out of the dry ice/DNA slurry.
View attachment 2784544
Speaking of dry ice slurry, I got a 32" Speed Rail for booze bottles, lined it with several layers of aluminum foil to make it water tight, and put it on some 2" foam board, wrapped it with R30 fiberglass insulation and put insulation on it as a top. Mixed dry ice and DNA to get it nice and cool, soaked each blade for 30 minutes after the plate quench and then into the post vise and angle irons for the last few. The first 3 I did werent in the post vise and warped...a lot!
View attachment 2784545
I heat treated 6 pieces of 5.3", 1" wide and 1/16" magnacut (which went into the liquid nitrogen) and 6, 18" x 2" x 1/16" Magnacut Shechita blanks. They are all in the oven getting a 325 degree preliminary temper.
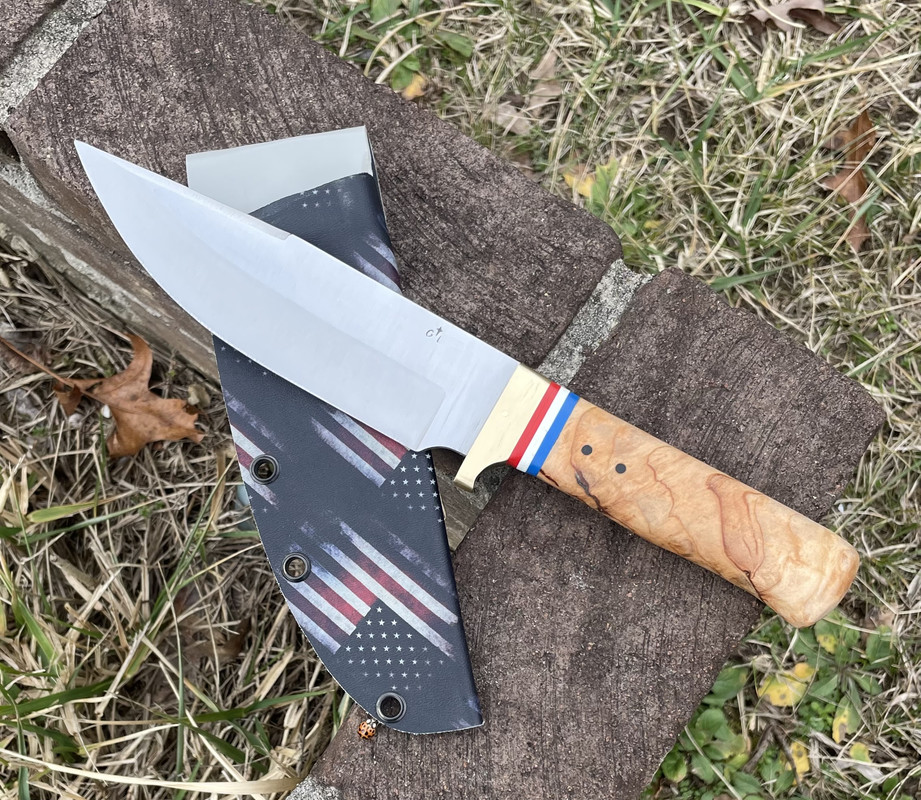


Thats Gorgeous. Great Job!Here’s one I finished up yesterday. The blade is 26c3 and the handle is burl wood with a brass guard and G10 spacers.
Thank you! I really appreciate it!Thats Gorgeous. Great Job!
Just a little but once you get the math down you get the uncontrollable urge to taper everything…Math?!?!?!
No one said there would be math!

I actually started tapering my liners out of function. I got tired of shimming my handles to drill the holes when I tapered my tangs and I thought “well I’ll just taper the scales while I’m setup and I won’t have to mess with shims.” As I was getting everything ready the first time I realized tapering the liners would probably look interesting and still accomplish the same thing. It was really more trouble than it was worth when I first started doing it but I liked the look too much to quit. Needless to say it’s much easier to do with my SGA. I do it on all of my tapered tang knives now. After I taper the tang I just stick the scales (double sided tape) liner side out on a couple of pre-ground pieces of flat stock and taper the liners. You just want to check frequently towards the front (thinnest part) to make sure it’s not getting too hot. Then I even everything up on the disk sander. Whole operation takes about 15-20 minutes.Killer handle! Coke bottles are just about as sexy as it gets.
Most folks would have left the red liners even, but your reverse tapered liners accentuate the tang taper, The effect is superb.
Now THAT'S a tapered yang!Just a little but once you get the math down you get the uncontrollable urge to taper everything…View attachment 2786001
 The way you did your liners is a super nice touch
That’s 0.115” Ruby Red. Since I’ve started tapering them I generally get 12”x24” sheets of G10 in the 0.080”-0.090” range for thin knives and the 0.110”-0.120” range for thick knives. Go thick because you can take more off but you can’t put it back on. It also gives a bit more thickness when using 1/4” scales. The blade stock started as a belt finished piece of 1/8” so it was a bit under that when I got it but I don’t remember the final thickness off the top of my head. I’m guessing it was probably around 0.110”. That particular knife was the one where I realized the initial math in my excel formula was wrong. It essentially got tapered to almost nothing but I went with it since it’s just a small hunter/skinner design I’ve been tinkering with. That’s why I had to use the thicker liner material on it.Scarfoot, now I have another skill I’m going to have to butcher my first few hundred tries! That blade handle looks really sweet. If I may ask, what thickness of liner do you start with?
My guess would be somewhere between .0675” and .100”. That looks like about .125” or so blade stock.
Again, it looks really nice! I can say I don’t believe I’ve ever seen tapered liners before.


