Beckerhead Knife Making and Modification Thread

I think it looks great too. Custom scales would fill that gap if it bothers you that much. I like what you did with the tip. I considered a slight drop point on one of mine. Backburnered it, maybe one day.
 
Daiz, I'll agree tho I think it looks good. I haven't found any of the Beckers that make good kitchen blades - at least in comparison to my Wusthof's - but it looks like you've got a good start. The problem, IMO, is the cant of the handle to the edge. Though I think the 15 would be great for skinning fish since that uses the knife in a totally different orientation. Good for slicing turkey or chicken, too, where you don't need cutting board clearance for your hand. But, you already know this.
 
influenced by the 15...

IMG_20150518_1234432_zps1dfaobni.jpg


5/32" 52100 from Aldo, G10 scales. Will post for sale after I finish the sheath, first will post it on FB to give family/friends first shot, if not then here but after I finish at least 2 more and change my membership status.
 
Nice, Zulu!!!!
The flare at the back of the handle is smokin'


did a little work tonight.

Fitting an ebony bolster:

IMG_20150519_211736-small-small.jpg


GSOM, I think you gave me these two pieces of wood, right? Do you remember what they are? They are DENSE!

IMG_20150519_194911-small-small.jpg
 
Katalox on the left, Mayan Rosewood (or some variant from Central/South America) on the right. Had a whole post with some pics but my browser just crashed and I'm too tired to do it again. I've used the rosewood for scales, but not the Katalox....yet. If I ever get around to my Machax project....you'll see it. Stuff is like cellulose G10; it dulls steel and even carbide cutters, I doubt you can do much to hurt it as scales.

BTW, the other common name for Katalox is Mexican Royal Ebony....personally I like the very dark purplish-black color and the grain pattern. I see I gave you some with a little quilting.....looking forward to seeing what you do with it...

Awesome, thanks for the refresher. I will have to label them.
I was pawing through my wood stash for a scrap-knife appropriate scrap. Got some goodies I forgot about in there.
 
thanks daizee! and now you solved a puzzle for me, as I have some lignum vitae, to make a short guard out of it for a rat tail that will get stacked (didn't want to make or fit a metal/brass guard to it)
 
thanks daizee! and now you solved a puzzle for me, as I have some lignum vitae, to make a short guard out of it for a rat tail that will get stacked (didn't want to make or fit a metal/brass guard to it)

Glad to be of service?


and... BOOM. checkout my rocks:

IMG_20150520_135856-small-small.jpg
 
Well school has ended, and I will play. Summer session is upcoming but I am hoping to get this knocked out. My set up is still kinda "primitive" but this blade I'll be using power tools as opposed to the other one which was done by hand. A belt grinder makes all the difference in the world.... Forgive me if this is boring/too long for yall.

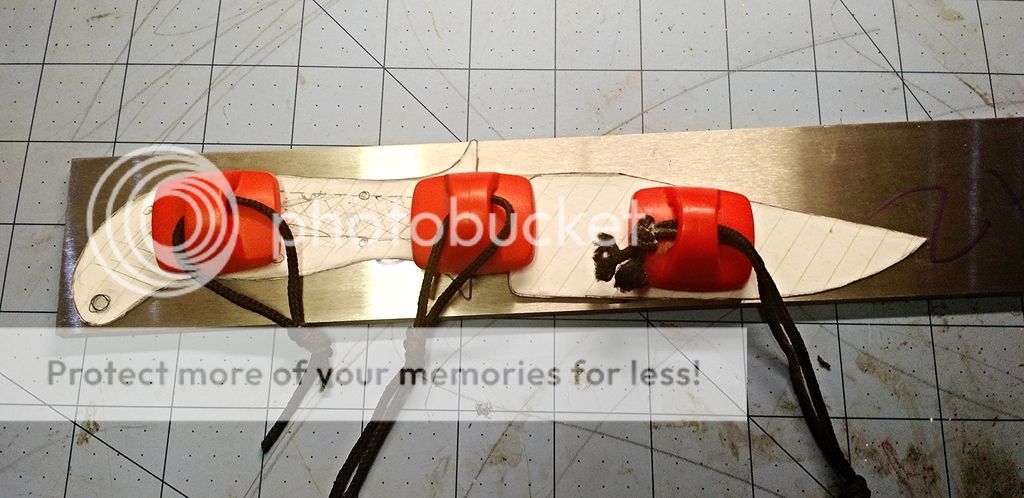
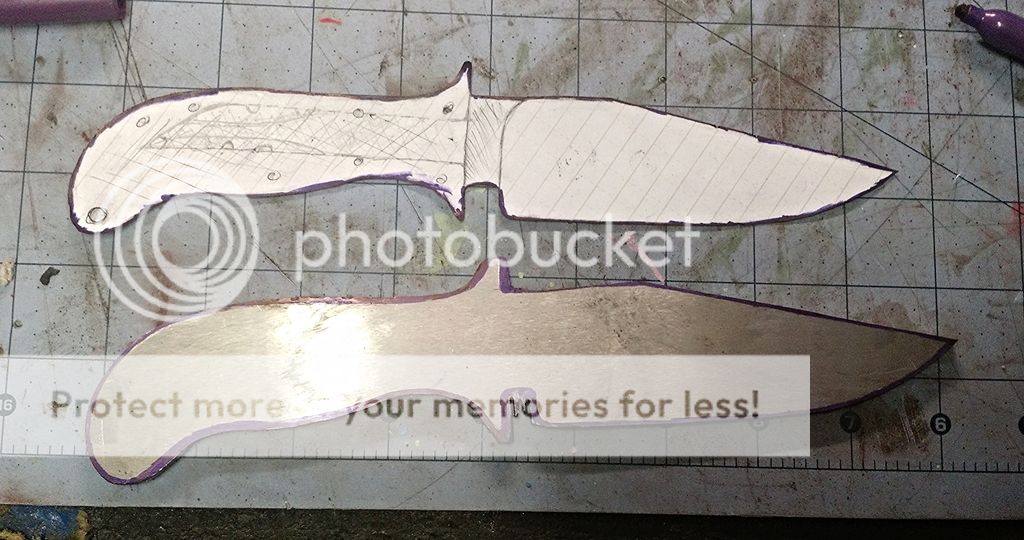
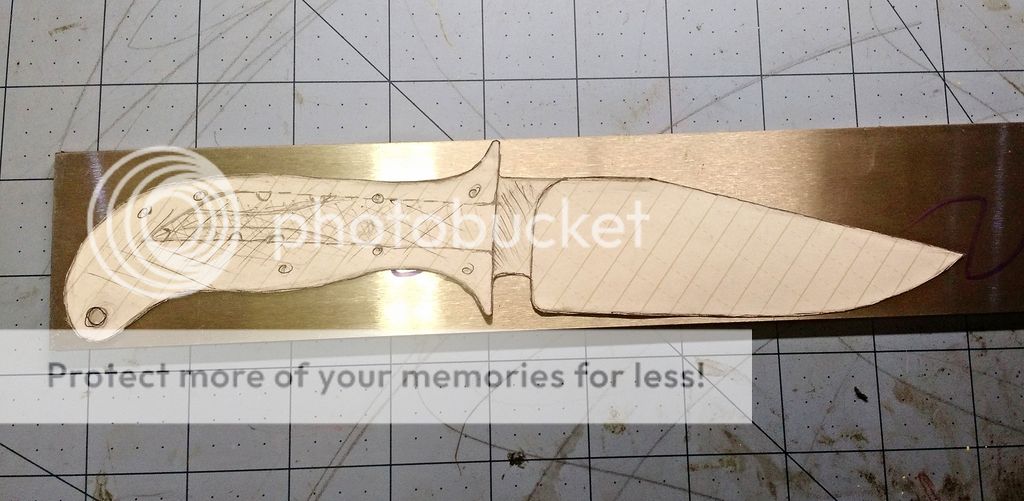
Here is my design on some A2. (Ignore the tag mock up in the handle, for a different thing) This will be a full tang Vest Bowie in 3/16" A2.


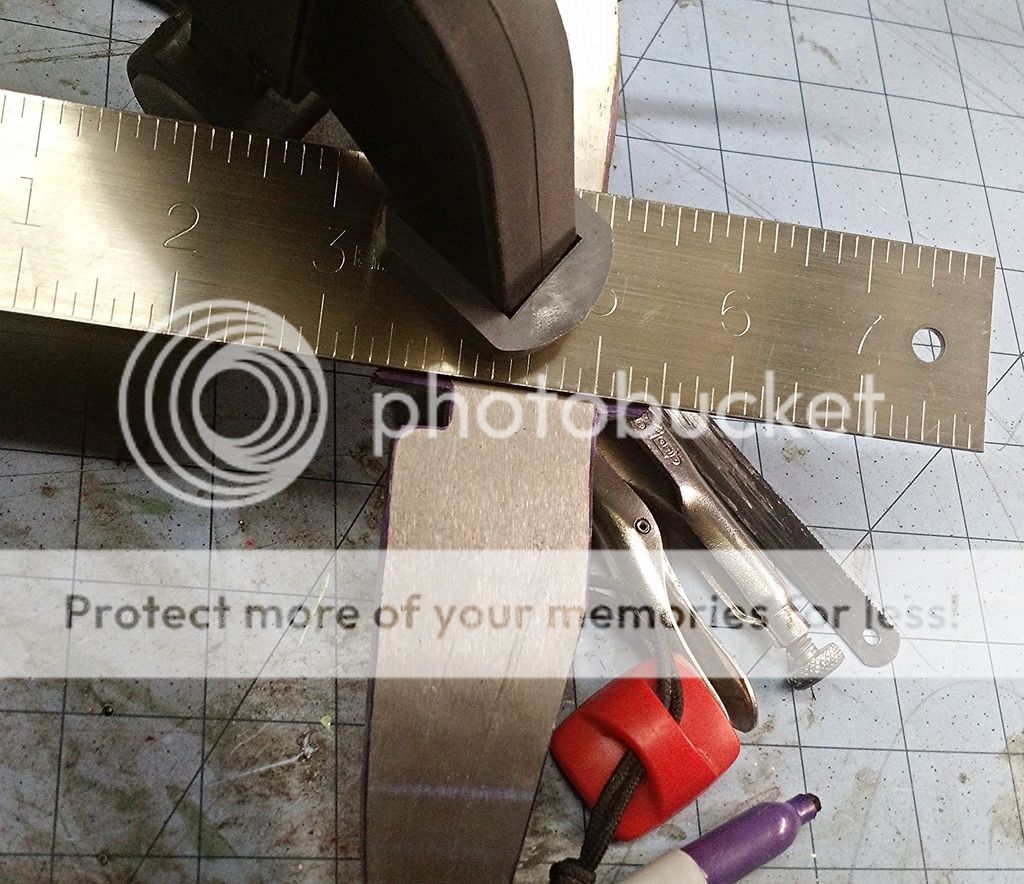
To hold the template down I am using these high strength magnets... (actually treadmill keys/magnets ;) lol) Works really well and I dont have to worry about the template sliding around...


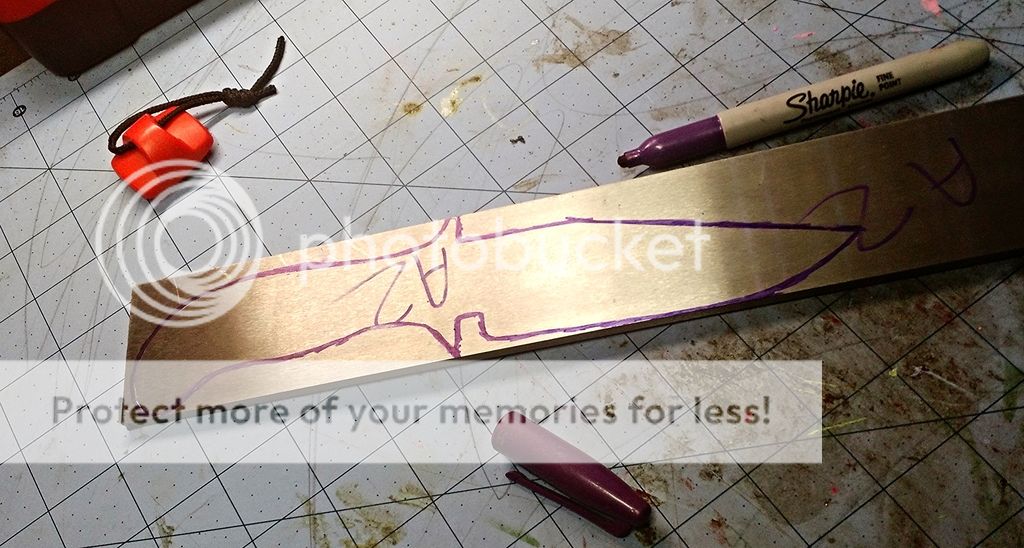
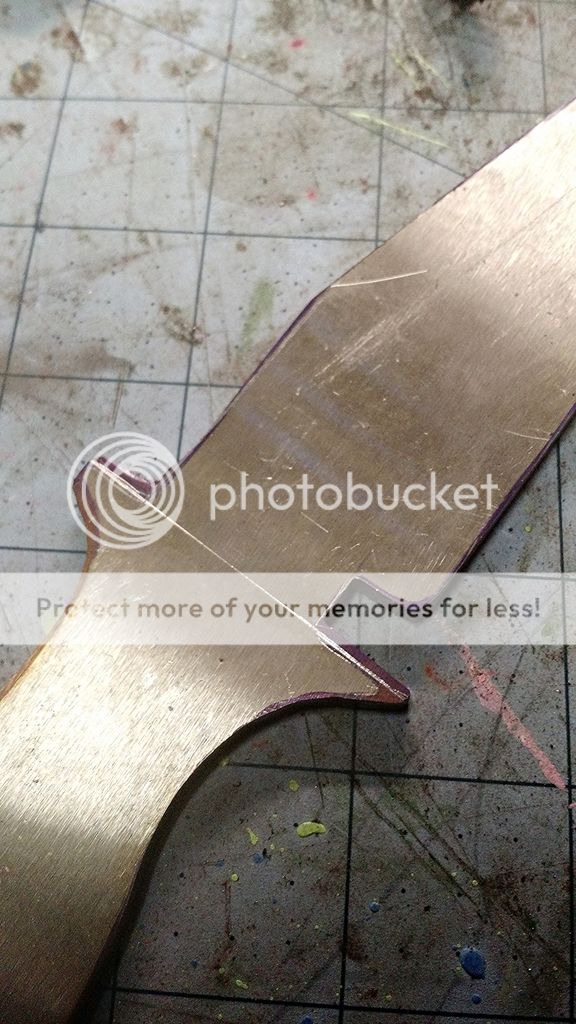
Outlined! Purple is the color of choice this time... cause it was the color that was found lol. Also went around the template and lightly scribed in my outline. Once I get to grinding/cutting the line will disappear readily so its nice to have it as a backup.


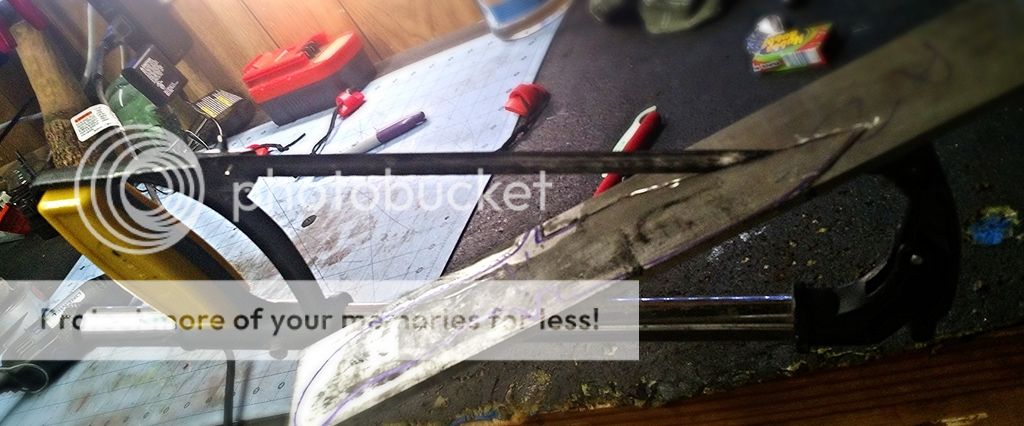
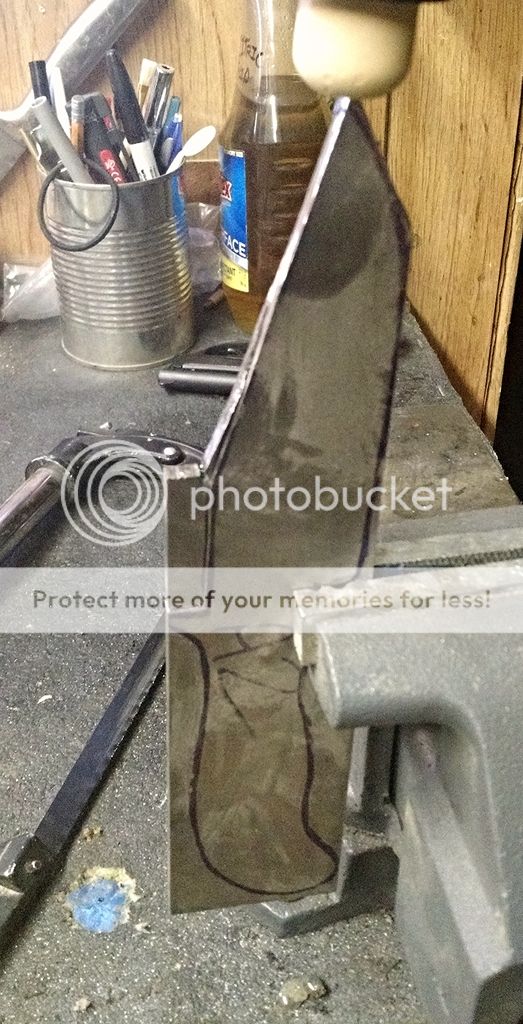
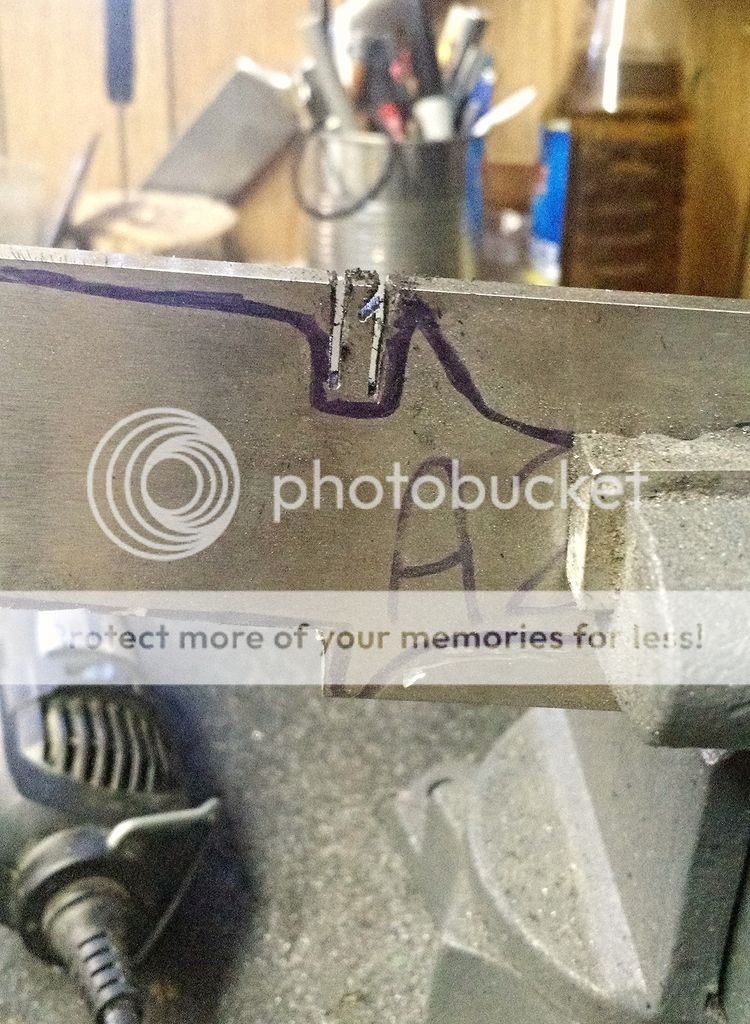
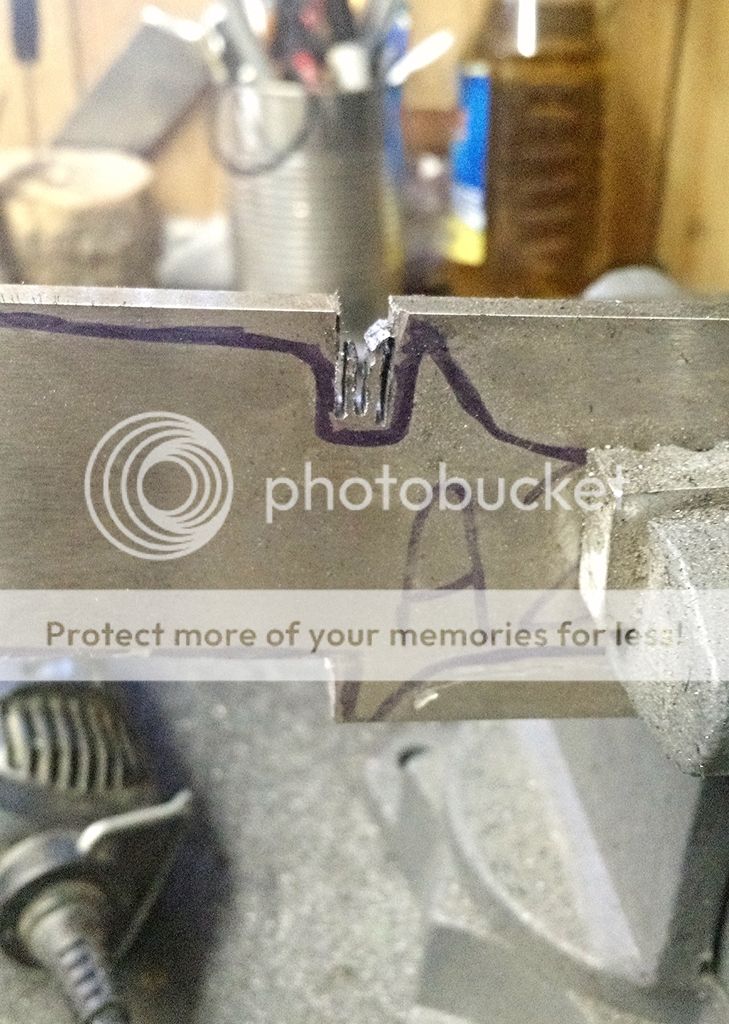
May the cutting commence! This time I did something a little different than I did last time. Instead of making a ton of relief cuts, I took my dremel with a heavy cut off wheel and notched around the profile. Then I cut a slit into each straight direction. Now I just put the blade in the hole, attach the saw frame, BAM! Saved a ton of time. Less work than last time but still some labor involved... will be definitely investing in a porta-band or a band saw soon...


[/URL

FFFFFRRRREEEEDDDDOOOMMM!!!! :D
[URL=http://s1073.photobucket.com/user/iw0uldhurtafly/media/Mobile%20Uploads/75f58736-9c13-4507-a823-77537346dee8_zpsdiledtsr.jpg.html]


Still more cutting!


Hacksaw skills to the test, trying to saw out as much material between the purple lines as possible before I start filing.


Now its just cutting out the cut outs. Went through 3+ blades this time as opposed the the 10 or so last time...


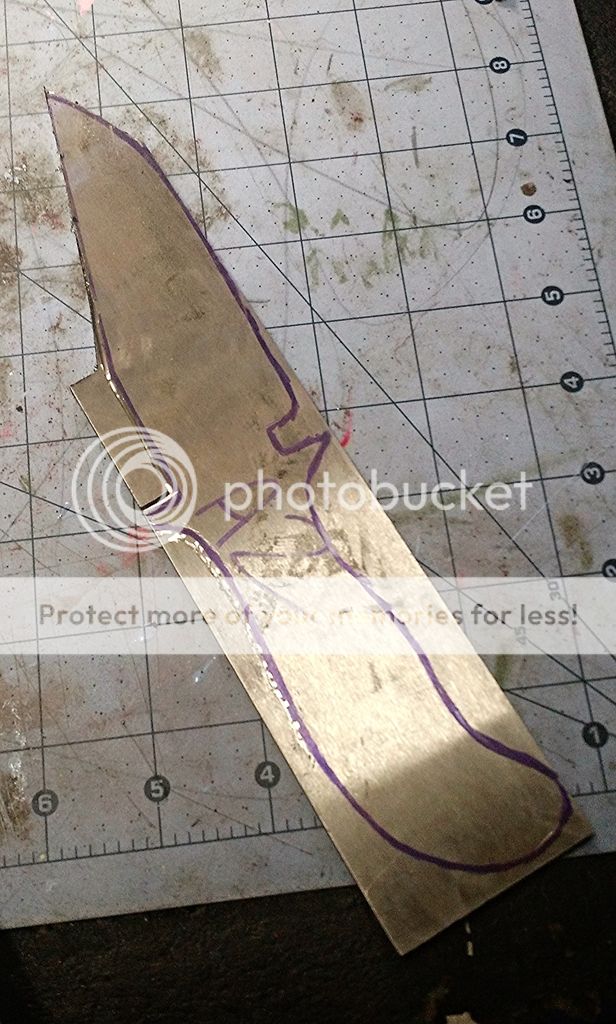
Skip forward in time I have removed as much as I can then started playing around with the belt sander some to get closer to my intended shape... I am removing material through the purple, so the inside line is the line I'm trying to reach. Anytime that line gets hazy or I am getting close its time to stop, and re-mark.


Trying to be as careful as I can with the guard/legs here. I am marking according to my designated measurements on my original design. Threw on some scribed lines... One for each guard leg up to the ricasso, one across the ricasso to attempt symmetry, then two for each shoulder up the spine/tang, and so on.


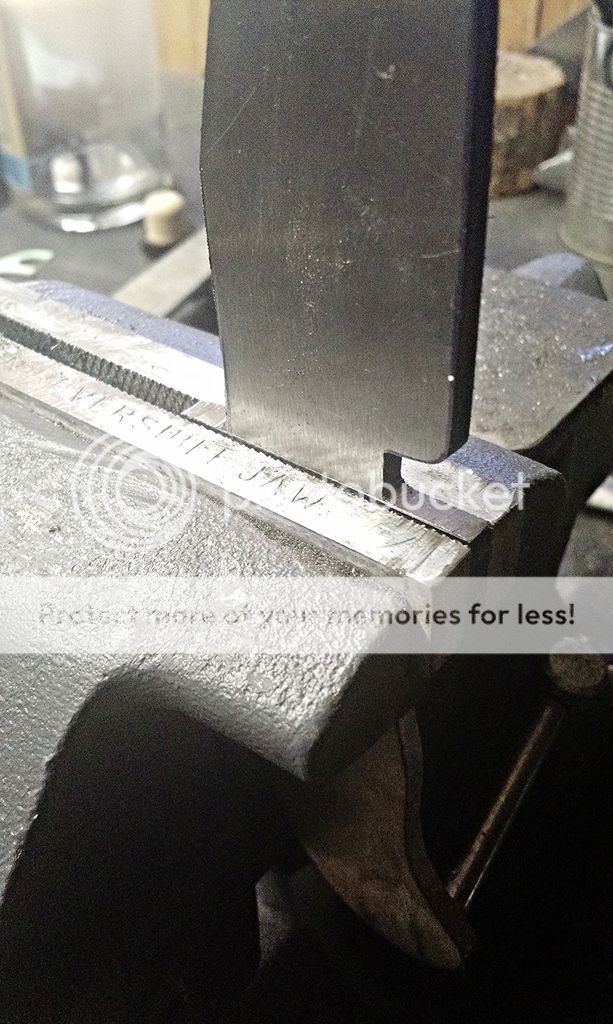
Since I havent made my file guide yet I will just use the "kinda" hard jaws on my vice right now. Just lined up my scribed lines, then went to work. Also placed edge down so the clip and spine could be flattened/trued up.


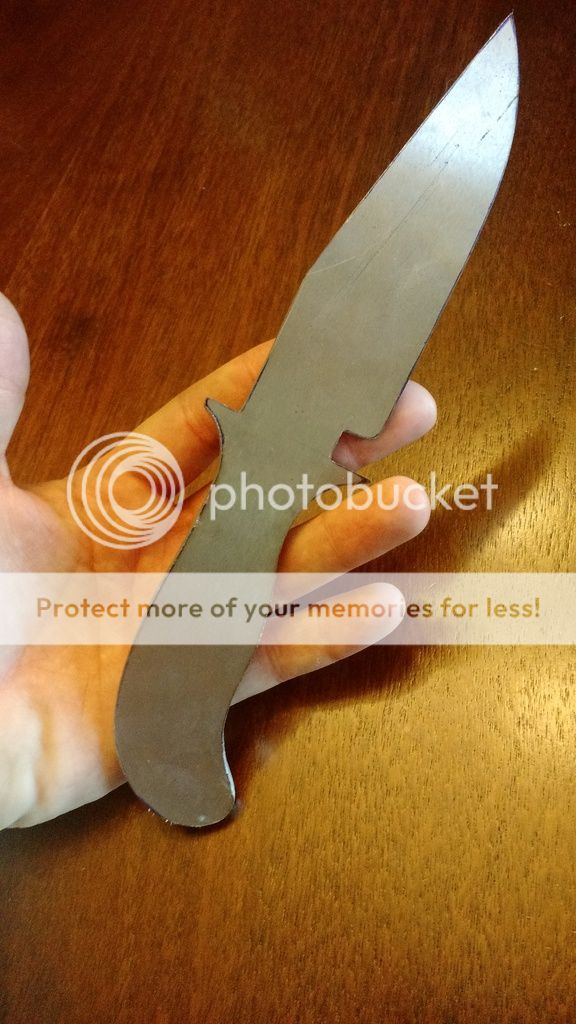
All cut out. Still have some distance to go around the whole profile, then the guard has to be put into its final shape (waiting on that cause its going to be so small I could easily mess them up. They have to be flat and even by glue up cause my plan is to have the micarta slabs act as the guard with the blade tang. Should be pretty neat once its all shaped out.


Well I hope yall enjoyed, Should be back soon with more! Sorry for the poor quality pics and I'll try to be more concise next time. If yall have any questions feel free to ask!

Thanks for looking.
 
Looking good, Fly!

You might be over-thinking the drawing transfer, though. I like to use wood glue to simply glue the pattern to the steel... :D
 
Looking good, Fly!

You might be over-thinking the drawing transfer, though. I like to use wood glue to simply glue the pattern to the steel... :D
Or 3M 77 spray adhesive. IWHAF, have you considered just using a jigsaw with a metal cutting blade for cutting the profile? They're dirt cheap used and probably save a fair bit of time....and effort.
 
or an angle grinder with cutting wheels...really your friend when it comes to cutting steel. Clean up with belt/wheel grinders.
 
or an angle grinder with cutting wheels...really your friend when it comes to cutting steel. Clean up with belt/wheel grinders.

I want a metal-cutting bandsaw, but there's a motorcycle in the way.
Maybe if I put it on the centerstand and hook a drive belt to the rear wheel... a single-side swingarm would make more sense for this application.
 
^^^:thumbup: that would make for an interesting conversation & thread.
 
Yes, but how will you work the throttle and cut steel simultaneously, Einstein? Didja think of that?!

Otherwise a brilliant idea. Too bad about the fatal flaw.

I'm sure there's an aftermarket cruise control device that will do the job.
It's gonna wreck my mileage, though...
 
65HP variable speed gas-powered bandsaw. WATCH OUT!
Noooo, no one's going to die at all, nooo
My little 4-1/2" Black Bear was $150 at tractor supply, and it has about a 3'x1' footprint...waaaay worth it. All the guards and such are cheap crap but the important parts are pretty good
 
Back
Top